Organic Shapes in Email

Intro to Organic Shapes
I have been working on a new design capability and tool to bring a fresh look and feel to emails that I am really excited to share with the community.
For a long time there has been a push toward curved designs on the web, which have mostly been locked away from email due to lack of support and ease of use. I’ve found a solution to the problem, and it’s so simple I’m honestly surprised it hasn’t been explored more.
Using the full 8 points available in the border-radius:; property, outlined in 9elements’ blog post, a diverse range of shapes can be developed in code for more mobile and darkmode control, and better rendering with images disabled.
Oddly enough, most Creative programs like Photoshop and Sketch are limited to only 4 point control. So in weird twist, email has more support than major creative programs. 🙃
Basic Shapes

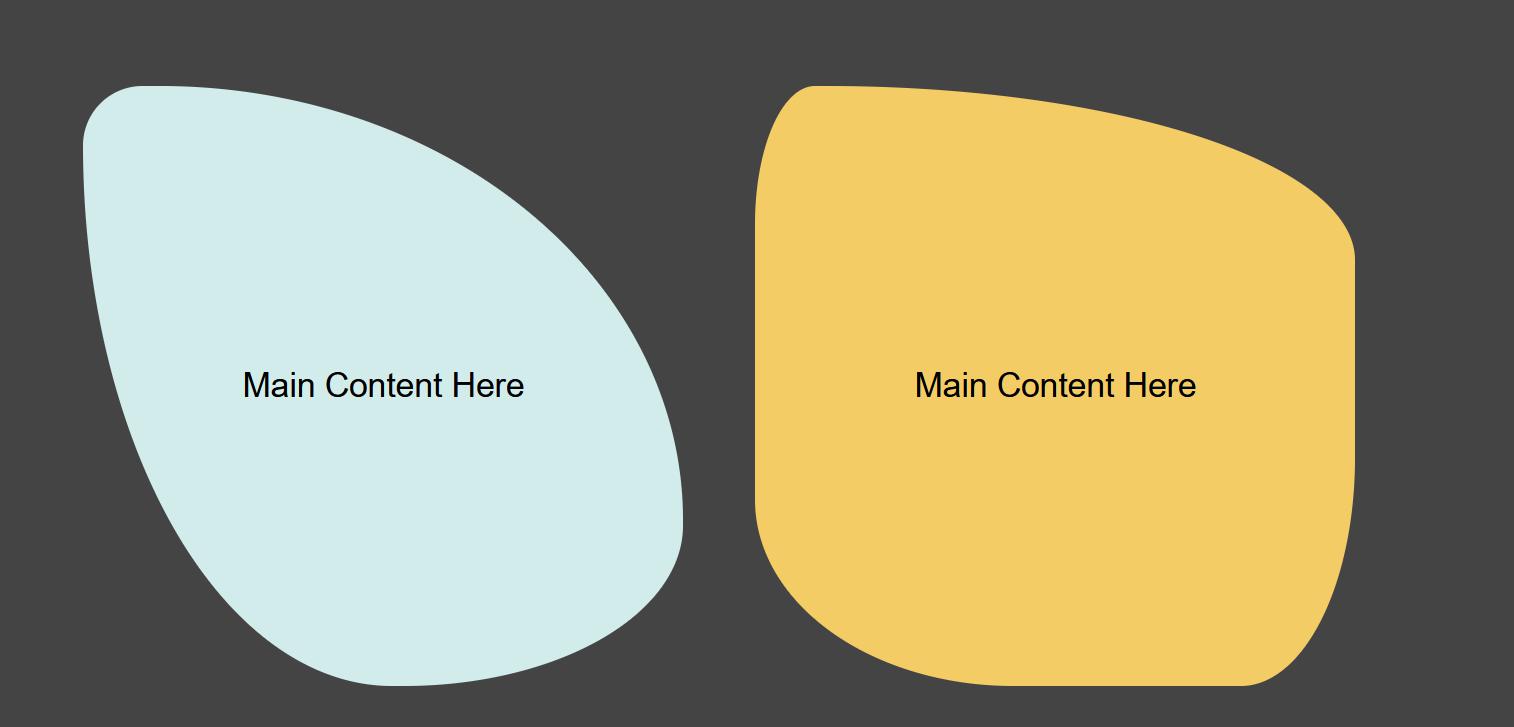
With a whole new set of shapes to work with, there are plenty more email designs possible.
Borders

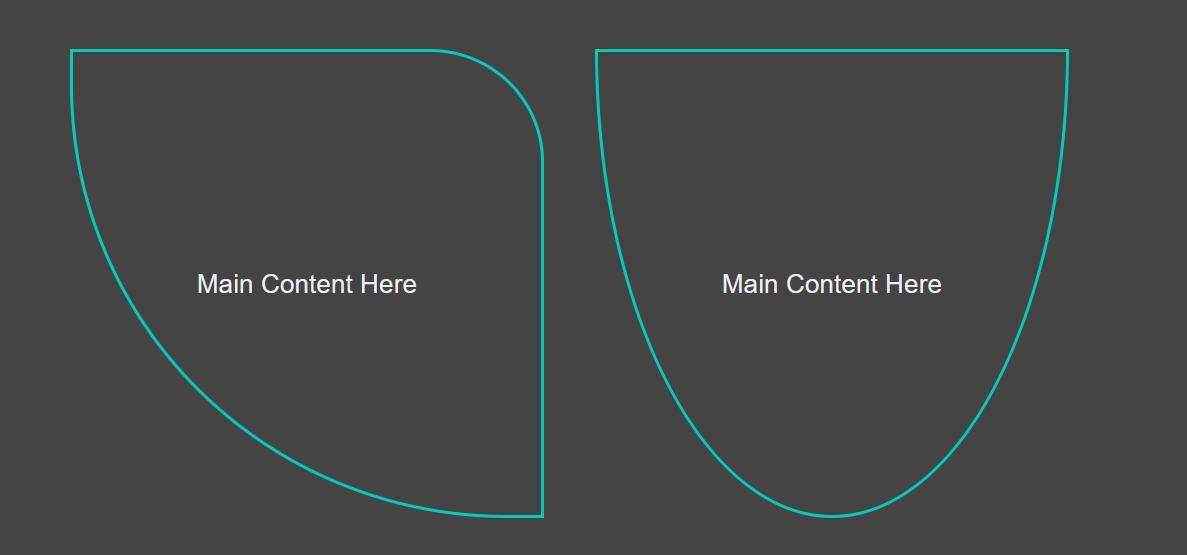
Shapes can also be a border on their own for more possibilities such as neon themed email.
Shape Layering

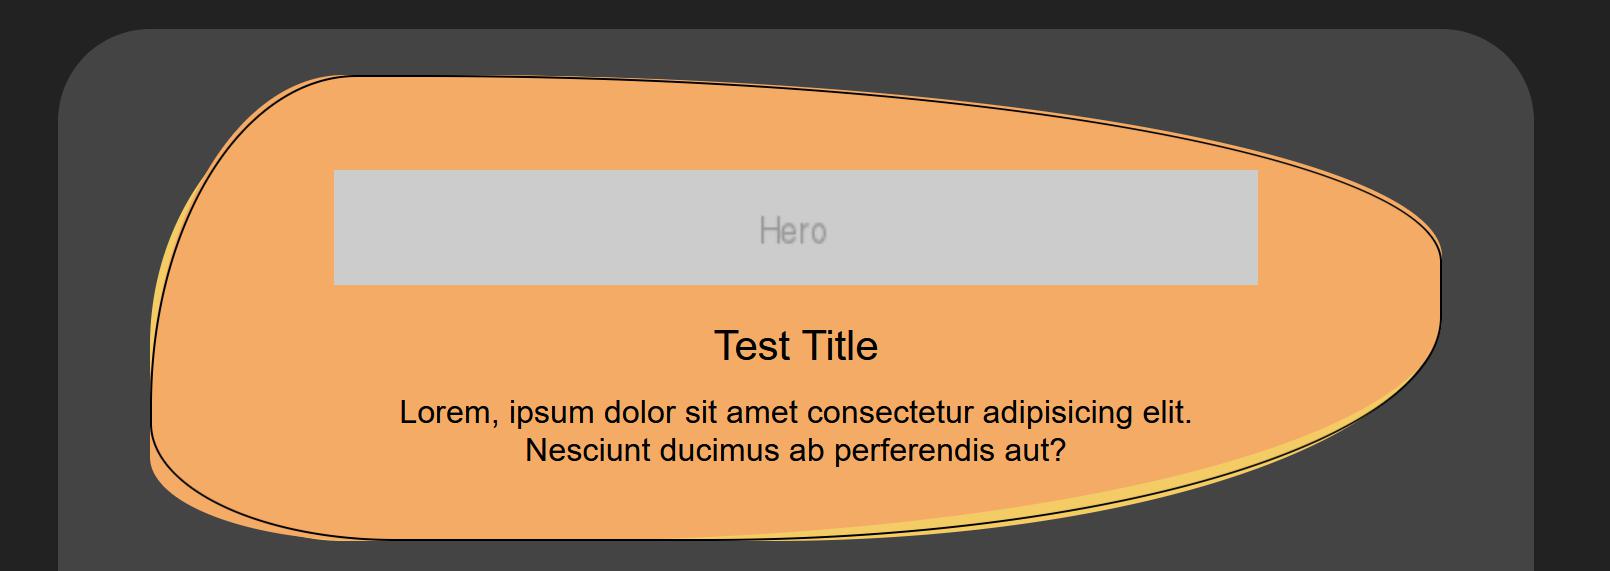
In addition to creating tons of new shapes, several shapes can be layered on top one another for even more effects.
I especially like the somewhat hand-drawn style seen above.
Where is this supported?
TL:DR - Everywhere, with some special code for Outlook.
Webmails
There is full support in all webmails and mobile. AOL and Yahoo don’t support the ‘/’ in the border-radius, so the style must be split into individual parts. Thanks to Mark Robbins for helping with that.
<!--[if !mso]-->
<style type="text/css">
  .bg_8A39FF { background-color:#8A39FF; }
  .shape { border-radius: 10% 20% 30% 20% / 45% 45% 40% 55%; }
</style>
<!--<![endif]-->
Is equivalent to:
<!--[if !mso]-->
<style type="text/css">
  .bg_8A39FF { background-color:#8A39FF; }
  .shape {
    border-top-left-radius: 10% 45%;
    border-top-right-radius: 20% 45%;
    border-bottom-right-radius: 30% 40%;
    border-bottom-left-radius: 20% 55%;
  }
</style>
<!--<![endif]-->
Mobile and Darkmode
There is full support for mobile and darkmode. Classes are used like normal to modify the shapes and colors as needed.
Outlook Support!
Surprisingly, Outlook is supported too - with the use of some novel VML code…
VML is the Outlook equivalent of SVG where shapes are drawn with paths. I’ve developed a tool to automatically create the VML as doing it manually is very time consuming and confusing. Check out my VML Pather tool the generate these Organic Shapes.
How Does It Work?
The border technique from 9elements along with their tool is used to easily design shapes for non-Outlook clients. To add support for Outlook, special VML code is needed from the VML Spec.
There is a shape command that works very similar to the 8 point full control - ‘ellipticalqaudrantx’ and ‘ellipticalquadranty’. These commands are used to draw curved corners which start and end on vertical and horizontal lines. Using this and the simple line ‘l’ command to draw straight lines, it is possible to define each of the 8 corner points, but with pixels instead of percentages.
For shape layering, there is <v:group> from the spec that allows for shapes to be grouped together and layered. Be sure to select the grouping option on the Pather tool when generating this code.1 This changes a couple things about the shape code to enable the grouping option.
With Organic Shapes, content is layered on top of these shapes rather than the shapes clipping the content. While using the shapes as clipping paths can be supported in non-Outlook clients, I have not been able to re-create this for Outlook.
Code
Basic Shapes
Design shapes using the 8 point full control tool from 9elements then copy and paste the values into my VML pather tool.
HTML
[expand]
<table border="0" cellpadding="0" cellspacing="0" style="" role="presentation">
  <tr>
    <td style="" class="fullshape1 bg_D2ECEB">
      <table border="0" cellpadding="0" cellspacing="0" width="560"class="w100" style="" role="presentation">
        <tr>
          <!--[if mso]>
          <v:shape style='left: 0; width: 560; height: 200; flip:y;' fill="true" fillcolor="#F4AB66" stroke="false" coordorigin="0 0" coordsize="560 200">
          <v:path v="m 0,36 qy 95,0 l 168,0 qx 560,96 l 560,122 qy 129,200 l 84,200 qx 0,58 x"/>
          <![endif]-->
          <td valign="top" style="">
            Main Content Here
          </td>
          <!--[if mso]>
          </v:shape>
          <![endif]-->
        </tr>
      </table>
    </td>
  </tr>
</table>
[/expand]
CSS
[expand]
.fullshape1 {
border-top-left-radius: 15% 71%;
border-top-right-radius: 77% 39%;
border-bottom-right-radius: 70% 48%;
border-bottom-left-radius: 17% 18%;
}
.bg_D2ECEB { background-color: #D2ECEB; }
[/expand]
Advanced Shape Layering1
Like basic shapes, design with the 9elements pages and paste values into my VML pather tool. Be sure to select the <v:group> option. While this allows for layering, it doesn’t actually generate the additional shapes or nested code. See the example below for reference.
HTML
[expand]
<table width="100%" border="0" align="center" cellpadding="0" cellspacing="0" role="presentation">
  <tr>
    <td align="center" style="mso-padding-bottom-alt:130px;" class="">
      <table border="0" cellpadding="0" cellspacing="0" width="560" class="w100" style="" role="presentation">
        <tr>
          <!--[if !mso]-->
          <td align="top" style="" class="fullshape2 bg_f4cc66">
            <table border="0" cellpadding="0" cellspacing="0" width="100%" style="" role="presentation">
              <tr>
                <td style="" class="fullshape1 bg_f4ab66">
                  <table border="0" cellpadding="0" cellspacing="0" style="" role="presentation">
                    <tr>
                      <td align="" style="" class="outline2">
                        <table width="100%" border="0" cellspacing="0" cellpadding="0" role="presentation">
                          <tr>
                            <!--<![endif]-->
                            <!--[if mso]>
                            <v:group id="GroupA" style='position:relative; width: 560; height: 200;' >
                            <v:shape style='left: 0; width: 1000; height: 1000; flip:y;'  fill="true" fillcolor="#F4CC66" stroke="false" coordorigin="0 0" coordsize="560 200">
                            <v:path v="m 0,76 qy 84,0 l 269,0 qx 560,100 l 560,114 qy 129,200 l 106,200 qx 0,84 x"/>
                            </v:shape>
                            <v:shape style='left: 0; width: 1000; height: 1000; flip:y;' fill="true" fillcolor="#F4AB66" stroke="false" coordorigin="0 0" coordsize="560 200">
                            <v:path v="m 0,36 qy 95,0 l 168,0 qx 560,96 l 560,122 qy 129,200 l 84,200 qx 0,58 x"/>
                            </v:shape>
                            <v:shape style='left: 0; width: 1000; height: 1000; flip:y;' strokeweight="1" strokecolor="#000000" fill="false" coordorigin="0 0" coordsize="560 200">
                            <v:path v="m 0,50 qy 106,0 l 241,0 qx 560,96 l 560,120 qy 118,200 l 90,200 qx 0,58 x"/>
                            <![endif]-->
                            <td>
                              Main Content Here
                            </td>
                            <!--[if mso]>
                            </v:shape>
                            </v:group>
                            <![endif]-->
                            <!--[if !mso]-->
                          </tr>
                        </table>
                      </td>
                    </tr>
                  </table>
                </td>
              </tr>
            </table>
          </td>
          <!--<![endif]-->
        </tr>
      </table>
    </td>
  </tr>
</table>
[/expand]
CSS
[expand]
.fullshape1 {
border-top-left-radius: 15% 71%;
border-top-right-radius: 77% 39%;
border-bottom-right-radius: 70% 48%;
border-bottom-left-radius: 17% 18%;
}
.fullshape2 {
border-top-left-radius: 51% 30%;
border-top-right-radius: 33% 58%;
border-bottom-right-radius: 32% 33%;
border-bottom-left-radius: 24% 30%;
}
.outline2 {
border-top-left-radius: 65% 41%;
border-top-right-radius: 41% 41%;
border-bottom-right-radius: 31% 51%;
border-bottom-left-radius: 16% 31%;
border: 1px solid black !important;
mso-border-alt: none !important;
}
.bg_f4ab66 { background-color: #f4ab66; }
.bg_f4cc66 { background-color: #f4cc66; }
[/expand]